

Epoxy Flooring Installation Process Birmingham
We have refined our process to ensure every project runs smoothly and delivers lasting results. From the first consultation to final handover, here is what to expect when you work with ProFlo Epoxy.
Our Process
A Smooth & Professional Installation Experience
Our streamlined installation process ensures a smooth and hassle-free experience from start to finish. At ProFlo Epoxy, we focus on precision, quality materials, and expert craftsmanship to deliver durable, high-performance epoxy flooring every time.
Consultation & Assessment
Understanding your space is fundamental to achieving the right finish. During the assessment, we examine the substrate for moisture, cracks, or contaminants that could affect adhesion.
This step ensures we match the correct epoxy system to your environment—whether it is a private garage, showroom, or commercial premises.
You gain complete clarity on timeline, costs, and what the finished floor will look and perform like before any work begins.
Surface Preparation
A floor is only as durable as its foundation. Diamond grinding or shot blasting creates the ideal surface profile, allowing the epoxy to mechanically bond with the concrete.
We address any cracks, joints, or imperfections at this stage, preventing them from telegraphing through the finished coating.
This meticulous preparation is what separates a professional installation from a short-lived DIY attempt—and it is why our floors stand the test of time.
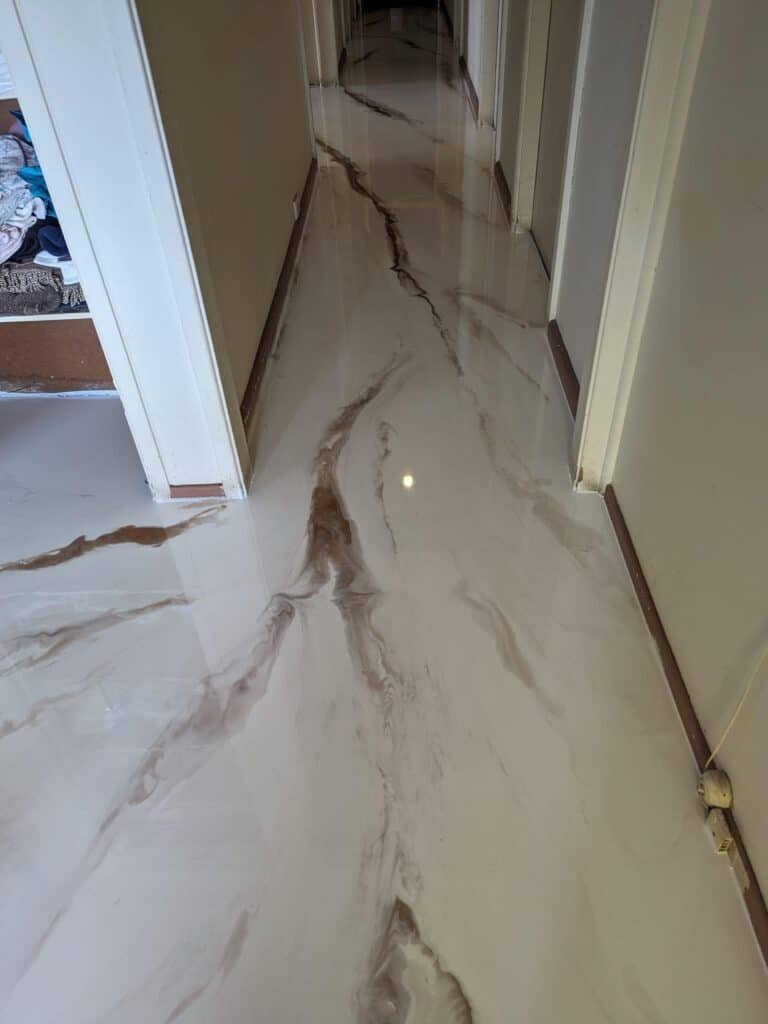
Epoxy Application
We apply primer, base coats, and top coats in controlled conditions to ensure proper curing and maximum adhesion between layers.
Whether you have selected a metallic finish, decorative flake, or solid colour, our team handles each material with the expertise required for a flawless result.
Attention to detail at this stage directly impacts the floor's appearance and longevity—delivering a surface that looks exceptional and performs reliably.
Curing & Final Inspection
Rushing the curing process compromises the floor's durability. We monitor environmental conditions to ensure the coating achieves its full mechanical and chemical resistance.
Our final walkthrough checks for consistency, finish quality, and any touch-ups needed before handover.
You receive a complete aftercare guide covering cleaning, maintenance, and what to expect as your floor settles into everyday use.
Project Timeline
1 Day
Preparation
1-2
Application
24-48h
Curing Time
7 Days
Full Cure
Why Our Installation Process Matters
A structured, methodical approach is the difference between a floor that lasts and one that fails prematurely. Each stage of our process is designed to maximise adhesion, ensure correct curing, and deliver a finish that meets the highest professional standards. By following proven techniques and never cutting corners, we provide epoxy floors that perform reliably in garages, showrooms, and commercial spaces across Birmingham and the West Midlands—giving you a surface you can trust for years to come.
What to Expect
Clear Communication
We keep you informed at every stage, from initial consultation to final handover. No surprises, no confusion.
Professional Team
Our trained technicians arrive on time, work efficiently, and treat your property with care and respect.
Clean Workmanship
We contain dust and debris throughout the process, leaving your space clean and tidy on completion.
Quality Guarantee
We stand behind our work with a comprehensive guarantee on both materials and workmanship, giving you peace of mind.
Common Questions About Our Process
Have more questions about our installation process?